How to Use Starry Landscape Stacker (SLS) for Clean Milky Way Photos
- Ryan Oswald
- May 11, 2025
- 6 min read

Want sharper Milky Way photos with less grain? This guide walks you through exactly how to use Starry Landscape Stacker (SLS), the go to stacking software for Mac users to reduce noise and boost night sky detail.
You’ll learn two stacking workflows (RAW and TIFF), Lightroom prep steps and real world settings to create clean, high-contrast Milky Way images with zero guesswork.
Whether you’re new to stacking or looking to fine tune your technique, this guide gives you a tested process for getting consistent, noise free results with your night sky photography.


The difference stacking makes: Left shows a single noisy Milky Way frame; right reveals the clean, high-contrast result after stacking with SLS.
Jump to Section
What is Starry Landscape Stacker?
Starry Landscape Stacker is a Mac-only app that aligns stars across multiple exposures while keeping the landscape still.
This stacking technique dramatically reduces digital noise, bringing out more stars and Milky Way detail, especially when shooting at high ISOs.
Pro Tip: Try using 16 or 25 exposures for optimal stacking results.
Two Ways to Use Starry Landscape Stacker
There are two workflows you can follow with SLS, and each has its strengths.

The stacked night sky on the left had color corrections done, chromatic aberration removed and exported as .tiffs. The stacked milky way on the right was used with stacked RAWs.
RAW Workflow: Maximum Noise Reduction
This method gives the cleanest result.
Ideal if you don't mind adjusting colors with less Lightroom flexibility
Load RAW files directly into SLS.
Best noise reduction because SLS processes the data directly.
Drawbacks:
No Kelvin-based white balance once back in Lightroom. You’re limited to +1 slider adjustments in temperature and tint.
Introduces chromatic aberration, which requires some manual corrections to the Lens Correction Defringe.
TIFF Workflow: Precise Color Grading
Set your white balance in Lightroom using the Kelvin scale.
Export edited files as 16-bit TIFFs.
Slightly more noise, but better for precise color grading or compositing.
If you're new to stacking Milky Way skies, this is the best method.
Prefer full control over your colors in Lightroom?
This method is for you.
If this is the method you prefer, here is the step-by-step guide how to prepare your milky way photos for Starry Landscape Stacker.
Preparing Your Images in Lightroom
Whether you’re exporting to TIFF or just editing RAWs, minimal adjustments are key.
Do This:
✅ Set custom white balance
✅ Increase Exposure or Brightness slightly
✅ Reduce Contrast
✅ Lift Blacks
✅ Enable Lens Corrections (chromatic aberration ONLY)
Avoid This:
❌ Auto white balance
❌ Clarity, Contrast, or Dehaze
❌ Sharpening
❌ HSL, Vibrance, or Saturation
❌ Highlight/White boosts
❌ Lens distortion correction (set to 0)

Export Settings for TIFF Workflow
If you’re exporting to TIFF, follow these settings:
File Format: TIFF
Bit Depth: 16-bit
Color Space: AdobeRGB
No resizing
Include all metadata (alignment might not work if EXIF information is not included)
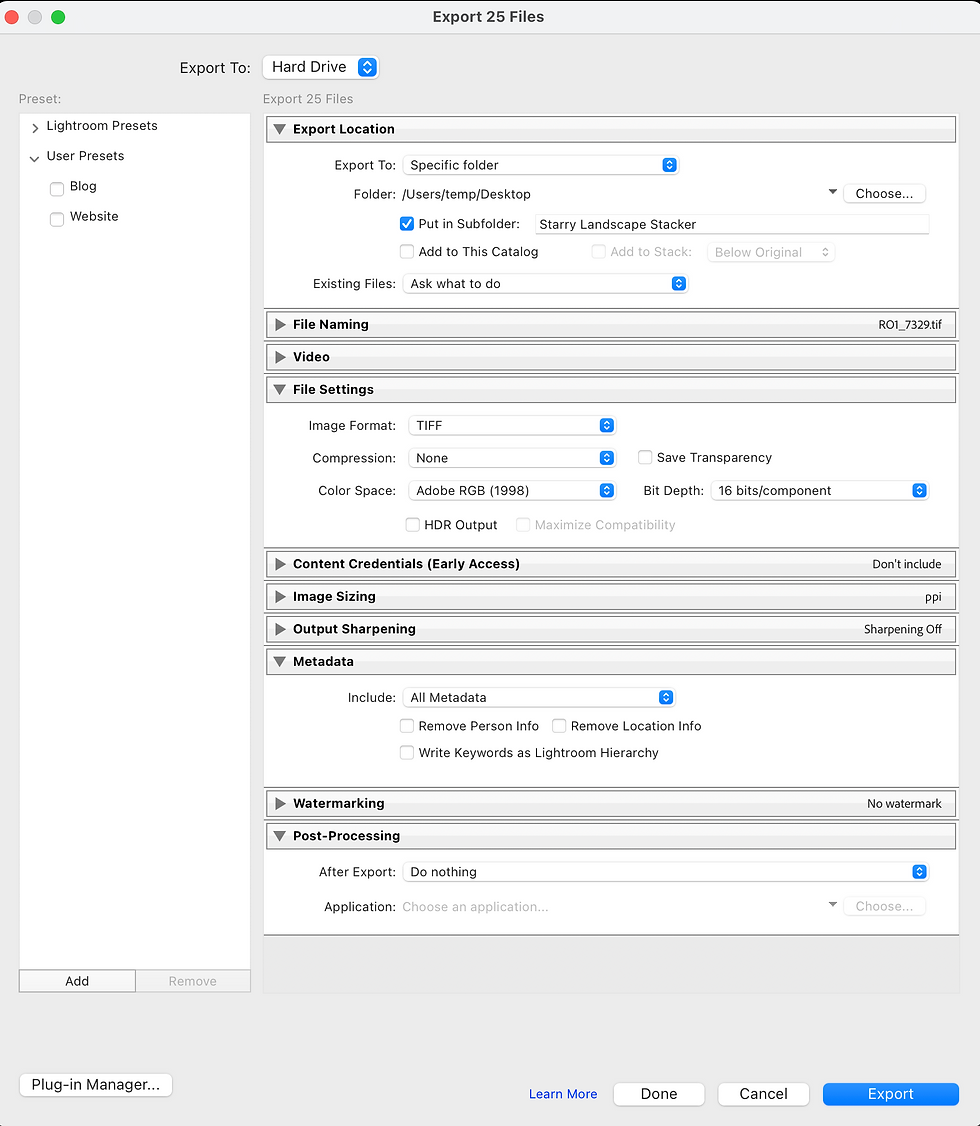
Pro Tip: Click the 'Add' button on the bottom left and save these export settings as a preset.
Loading TIFF Files into Starry Landscape Stacker
Open Starry Landscape Stacker
Load your TIFF images

Loading RAW Files into Starry Landscape Stacker
Open Starry Landscape Stacker
Load your RAW images
Adjust basic exposure, contrast, luminance NR and white balance corrections
The white balance adjustments here very similar to Lightroom's white balance and prefer my temperature to be 3850 and tint +20. I've found adding contrast here helps get a more dimensional, less flat milky way in the editing process. Other than that, I prefer to keep these adjustments minimal.

Once your TIFF or RAW files are loaded, SLS will process them and automatically try to identify the sky and the foreground.
Create Sky Mask in SLS
Step 1: Start with Automatic Dots
SLS adds red dots to the brightest stars.
Use the eraser tool to remove dots from land/foreground.
Pro Tip: I hit Find Sky immediately, SLS algorithm has become very good at finding most of the sky on its own

Step 2: Click
“Find Sky”
SLS will separate the sky and landscape using the remaining dots.

Step 3: Refine the Mask
Use the Paint tool to clean up any edge bleed.
If you have trees or bridges, check “Mask With Islands of Sky.”
The MOST important thing to remember here is you just want the stars within the blue mask.
Don’t worry about getting too close to the foreground or objects.
The biggest mistake is selecting part of the foreground or object. SLS will smear that part of your image like someone spilled ink.

Align and Stack
Choose a reference image (usually the center of your stack)
Align and composite using one of SLS’s algorithms
Pick the Best Stacking Algorithm
There are 6 different choices. I almost always use Min Horizon Noise.
Min Horizon Noise
Remove outliers then take the 40th percentile of the remaining values. At the horizon minimize noise at the risk of duplicating stars.

Min Horizon Star Duplication
Remove outliers then take the 40th percentile of the remaining values. At the horizon avoid duplication of stars at the risk of increasing noise.

Mean Min Horizon Noise
Remove outliers then take the mean (average) of the remaining values. At the horizon minimize noise at the risk of duplicating stars.

Mean Min Horizon Star Duplication
Remove outliers then take the mean (average) of the remaining values. At the horizon avoid duplication of stars at the risk of increasing noise

Max
Max Value at Each Pixel (great for meteors)

Min
Minimum Value at Each Pixel (best Milky Way contrast)

Saving Your Final Image
Save your stacked image as a TIFF
I prefer to keep the long, obnoxious name. It makes finding the file much easier.
Optional: Save a version with the mask for editing reference (Personally, I make my own and find this is just an axtra file that gets in the way)

Troubleshooting & FAQs
Q: My stars look blurry after stacking. What’s wrong?
➡ Check that all metadata is included in files. Another common mistake is having an interval of longer than 2 seconds between frames.
Q: Foreground edges look weird or noisy.
➡ Try “Mask with Islands of Sky” and zoom in to clean up the mask edges. Make sure no part of the blue mask is touching the landscape foreground.
Q: I don’t see any improvement.
➡ You may need more exposures (at least 9 frames but 25 frames is ideal) and make sure ISO is high enough to capture stars clearly.
Q: Is uploading RAW or TIFF files better?
➡ Uploading RAW files directly to Starry Landscape Stacker gives cleaner results, both both work well.
Q: Where did the temperature kelvin option go when editing stacked milky way?
➡ SLS exports the final image as a TIFF file, which has limited white balance options in Lightroom.
Q: How many exposures should I take for best stacking results?
➡ For optimal results, aim for 16 or 25 exposures. This provides enough data for Starry Landscape Stacker to significantly reduce noise while preserving star detail.
Q: Is there a Windows alternative to Starry Landscape Stacker?
➡ Yes, alternatives for Windows users include Sequator (free) and DeepSkyStacker. However, they differ in workflow and may require more manual steps.
Q: What’s the best ISO for Milky Way stacking?
➡ ISO 6400 -12800 is typical. Since stacking reduces noise, it’s okay to push your ISO higher than usual to capture more stars in each frame.
Q: Can I stack JPEGs in Starry Landscape Stacker?
➡ Technically yes, but it’s not recommended. You’ll lose significant dynamic range and editing flexibility compared to using RAW or TIFF files.
Q: Will stacking help with light pollution?
➡ Not directly. Stacking reduces noise, but won’t remove color cast from light pollution. Consider using a light pollution filter and correcting in post-processing.
Related Tutorials You’ll Love
Want Hands-On Help Stacking Milky Way Images?
Join one of our Night Landscape Photography Workshops!


Comments